4. Adding HTTPS Support to OCI

In the previous articles in this series, we created a web site and then learned how to automatically start it if the server reboots, and how to scale it as necessary. So far the web server only uses HTTP as its protocol. We want to add HTTPS support so we can eventually be able to have users securely log into the website.
In this article, we will perform the following steps:
- Create a web server to support the transfer of static files on port 8080
- Configure the load balancer to support web traffic
- Register a DNS name and point it to our load balancer
- Register for an SSL certificate from a Certificate Authority
- Configure the load balancer to support HTTPS
Prerequisites
You need to have a domain name registered and be able to edit the DNS records for that domain name so you change the associated IP address. You can register a new domain name with most web hosting providers.
You will also need to have completed the first 3 articles in this series and NOT have deleted the server and load balancer you create in the third article.
Article 1 — Getting Started with OCI,
Article 2 — Automatically Starting You Web Server,
Article 3 — Scaling Your OCI Web Server.
To save some cash, and to maintain the spirit of the trial account, we will get our SSL certificate from SSLforFree.com. In order to verify our ownership of our domain name with SSLforFree.com, we will need to be able to publish “verification” files on port 80.
Create Our Static File Web Server
We will create a 2nd web server to handle the requests on port 8080 for the static files (used by sslforfree.com for verification of your ownership of the host). If you already have a valid SSL certificate for your load balancer, feel free to skip to the final step on Configuring Your Load Balancer to Use HTTPS.
Why port 8080?
If we had our web servers listening on port 80, we would have to start them as the root user. This is generally considered unsafe. We will run our servers on port 8080 and then have the load balancer forward traffic from port 80 to port 8080.
Create a new Node.js Project
Open a command line and navigate into the folder/directory on your local machine where you would like to create the new Node application. I named mine staticServer so from the main directory that I use to store all of my Node projects, I typed:
mkdir staticServer
cd staticServer
npm init
In the staticServer folder on your local machine, create the index.js file and give it the following contents:
const http = require('http');
const fs = require('fs');
hostname = '0.0.0.0';
const port = 8080;const server = http.createServer((req, res) => {
   var currentDate = new Date();
   var utcDate = currentDate.toUTCString();
   var absURL = '/home/opc/staticServer' + req.url;   if(req.method === 'GET') {
      // This is a request to get a file.
      console.log('GET ' + req.url + ' : ' + utcDate);
      // Is this a health check?
      if (req.url === '/healthcheck') {
         // Yes, this is a health check. Report that we are healthy
         res.statusCode = 200;
         res.setHeader('Content-Type', 'text/plain');
         res.end("Healthy\n");
      } else if (fs.existsSync(absURL) && !fs.lstatSync(absURL).isDirectory()) {
         // This is a request for a static file
         console.log('GET ' + absURL + ' : exists!');
         res.statusCode = 200;
         res.setHeader('Content-Type', 'text/plain');
         // Open the file and read it synchronously
         var contents = fs.readFileSync('/home/opc/staticServer' + req.url, 'utf8');
         res.write(contents);
         res.end("\n");
      } else {
         // This is a request for a file that doesn't exist or
         // a directory. We don't support such requests
         console.log('ILLEGAL REQUEST: ' + req.method + ' ' + absURL);
         res.statusCode = 403;
         res.end('FORBIDDEN\n');
      }
   } else {
      // This is an unknown / unsupported request
      console.log('UNKNOWN REQUEST: ' + req.method + ' ' + req.url);
      res.statusCode = 400;
      res.end('Unknown request\n');
   }
});server.listen(port, hostname, () => {
   console.log(`Server running at http://${hostname}:${port}/`);
});
Now use scp to copy your local staticServer/ folder onto your two compute instances:
scp -r -i ~/oci_key ~/Downloads/nodeWorkspace/staticServer opc@<your IP address>:/home/opcAdd an stateless Ingress Rule for port 8080
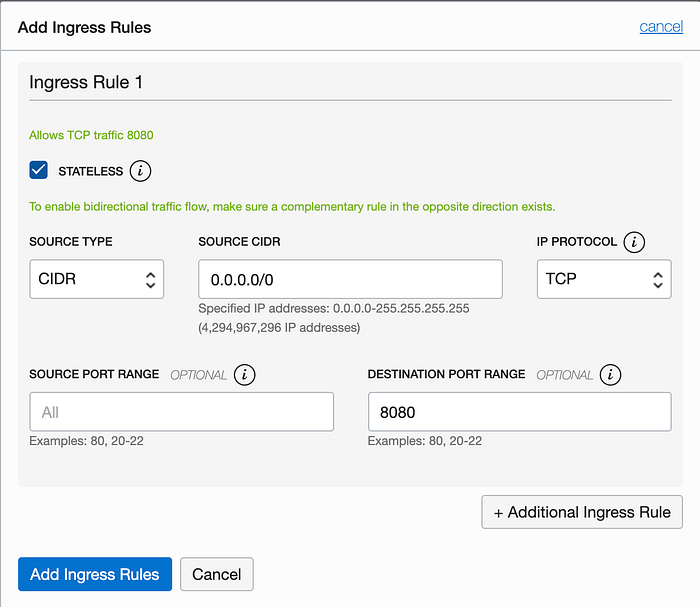
Now we need to allow traffic to hit our web servers on port 8080. To do this we will need to create a new stateless ingress rule that will open port 8080 to any IP address that calls in. To do this, use the hamburger menu to navigate to Networking -> Virtual Cloud Networks and click on your VCN in the list of VCNs. Under the Resources section, click on the Security Lists link and then click on the default security list for your VCN (you should only see 1 security list if you’ve been following this series of articles). Click on the blue Add Ingress Rule button and add a new stateless ingress rule as shown in the screenshot below.
Open Port 8080 in the Firewall
You will need to open port 8080 in the firewall of each of the web server instances. SSH into each of your web server instances and execute the following commands:
sudo firewall-cmd --permanent --add-port=8080/tcp
sudo firewall-cmd --reload
Once you have performed those steps you are ready to move on.
Configure the Load Balancer for Web Traffic
Now we need to configure our load balancer to support web traffic on port 80 and forward that traffic to port 8080 on our two web server instances.
Create a Backend Set for Our Static Web Servers
The code we wrote for our static file web server listens on port 8080. We need to create a backend set that lists those two servers specifically. Our listener (created in the next step) will use this backend set to route traffic it picks up on port 80. This is one way of doing port forwarding in an OCI environment. Click on the blue Create Backend Set button to get started.
Name the backend set http8080 (I do like simple, explicit names). Accept the default values for the Traffic Distribution Policy and the Session Persistence. Scroll down in this wizard to access the bottom half.

Now you can configure the Health Check for the backends. Set the Protocol to HTTP and the Port to 8080. Set the Interval to 100000 (100 seconds, or really any reasonable value you prefer). The Number of Retries is 3 (a good general rule of thumb for this value). Set the Status Code to 200 and the URL Path should be set to /healthcheck, since that is the URL our server is listening for. Finally, set the Response Body Regex to Healthy. Press the Create button when you are ready.

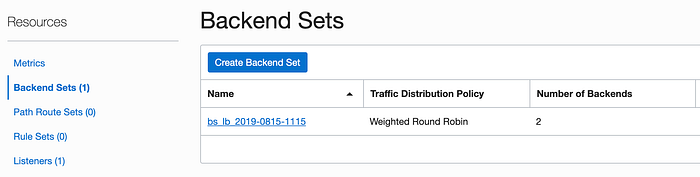
Wait a moment for the new backend set to be created. You can move on once it appears in the list of backend sets.
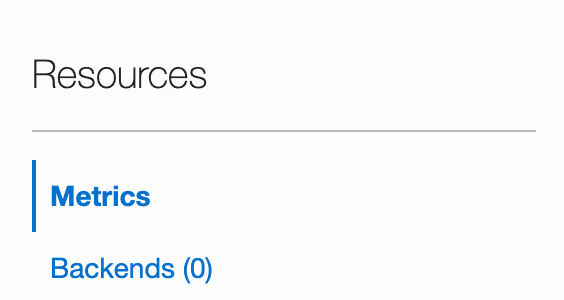
Now that your backend set is created, we need to assign backends to it. Click on your newly created http8080 backend set and scroll down the Resources section. Click on the Backends link.
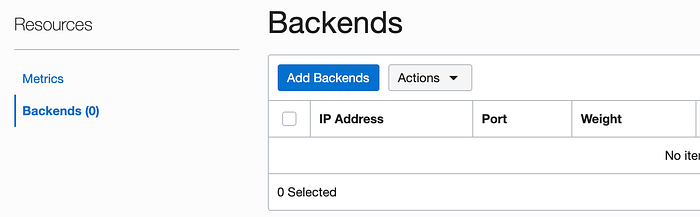
Click on the Add Backends button.
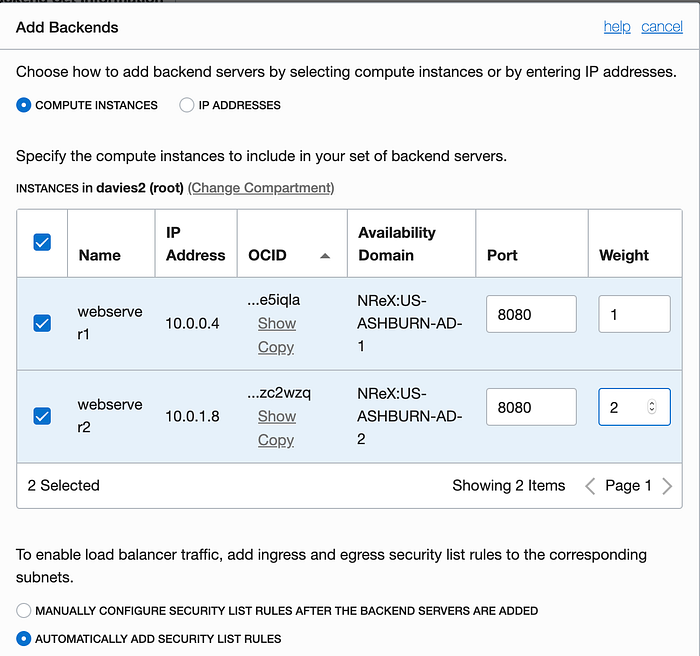
Select both of the web servers listed and set their Port to 8080 each. Set the Weight for webserver2 to 2 since it is a stronger instance. Accept the defaults for the rest and scroll to the bottom to click the blue Add button.
Create a Listener on Port 80
We will modify our existing load balancer to also listen on port 80. SSL uses port 443 but as part of our setup, we need to open port 80 to web traffic so that we can verify with SSLforFree.com that we own the server for which we are requesting the certificate.
Use the resource menu on the left side of the page to click on the Listeners link. Then click on the Create Listener button to get started.
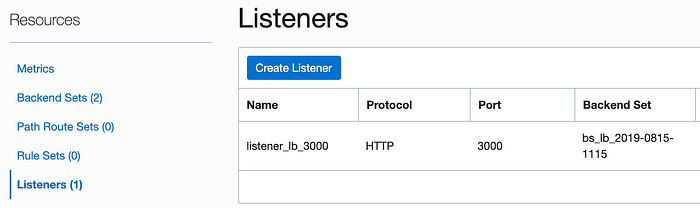
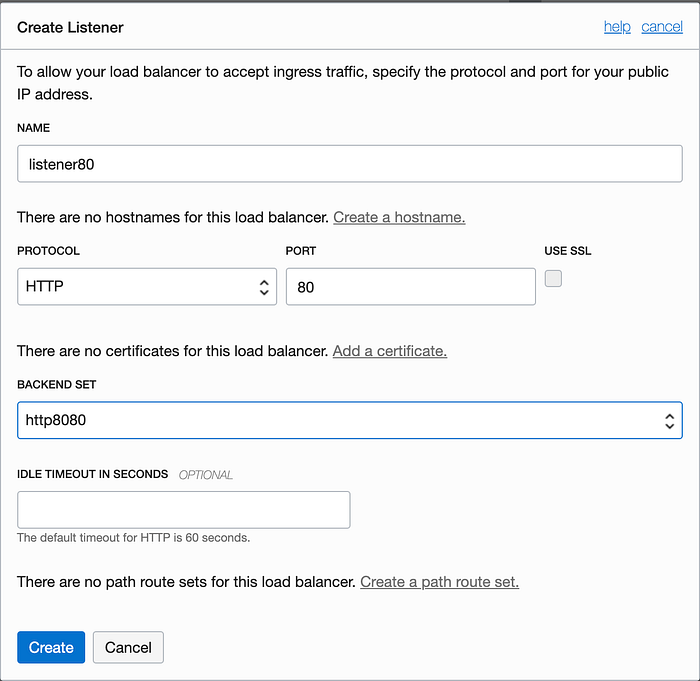
Name the new listener listener80 and accept the default for the protocol and the port. Select the http8080 backend set and press the Create button.
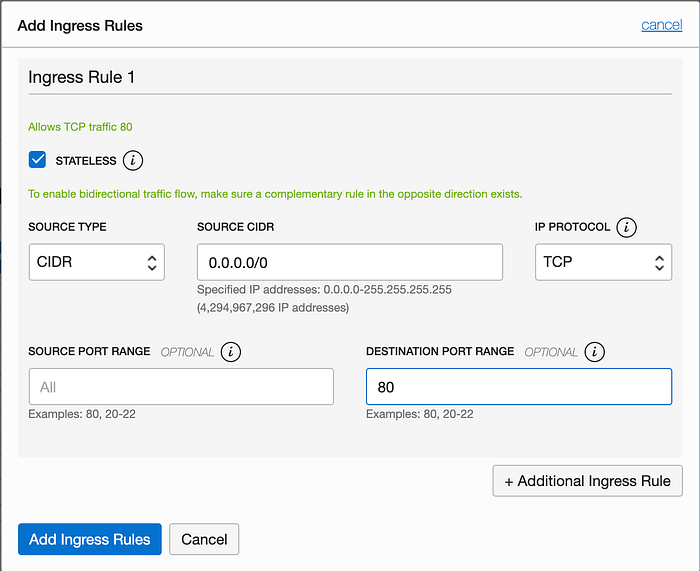
Create an Ingress Rule for Port 80
Now we need to allow traffic to hit our load balancer on port 80. To do this we will need to create a new stateless ingress rule that will open port 80 to any IP address that calls in. To do this, use the hamburger menu to navigate to Networking -> Virtual Cloud Networks and click on your VCN in the list of VCNs. Under the Resources section, click on the Security Lists link and then click on the default security list for your VCN (you should only see 1 security list if you’ve been following this series of articles). Click on the blue Add Ingress Rule button and add a new stateless ingress rule as shown in the screenshot below.
Testing the Static File Server
Let’s make sure the new listener is working correctly before moving on. Open 2 SSH consoles, one for each of the compute instances (webserver1 and webserver2). On each SSH console, execute the following commands:
cd /home/opc/staticServer
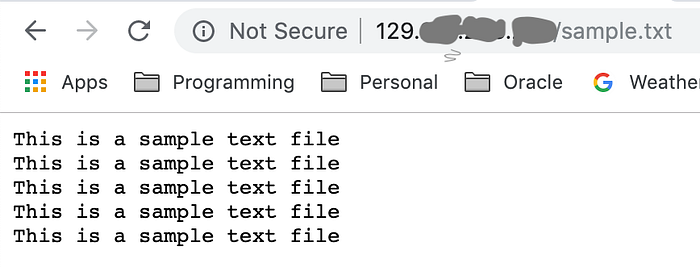
node index.js &That will start the static content web server. Now back in your web browser, take a look at the following URL
http:<your load balancer IP>/sample.txtYou should see the contents of the sample.txt file on your browser window.
Register a DNS Name
While it is possible to get a SSL certificate for an IP address, it’s not what you are likely to do in the real world. Usually, we need a certificate for a domain name. You will need a registered domain name whose DNS records you can modify to point that name to your load balancer. I had the domain jeffdavies.org already registered, so I just went into my hosting provider and edited the DNS records for that domain name to point to my load balancer. Note that when you edit your domain name records, it may take up to several hours for the effects to be seen.
Once you have your DNS name registered and pointing to your load balancer’s IP address, you can test it with the following URL in your browser:
http://<your DNS>/sample.txt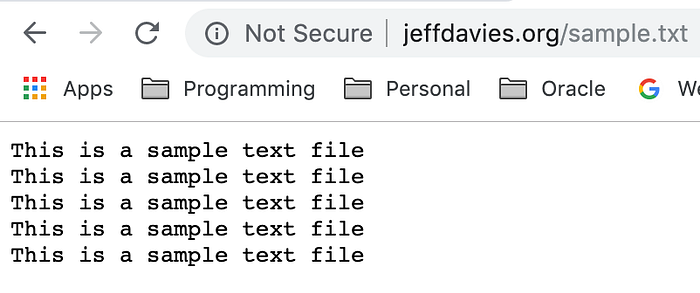
Register for an SSL Certificate
Now we are ready to make some serious progress. All the work until now was primarily focused on being able to serve up some static files required by SSLforFree.com (or whatever SSL provider you are using) to verify that we own the domain name and servers for which we are registering our SSL certificate. It performs this verification by giving us some static files to put on our web server that should be available via port 80 using our domain name.
Disclaimer:
I do not advocate or endorse SSLforFree.com. I’m simply using it because it was one of the first sites that met my needs and showed up early in my search engine.
Head on over to SSLforFree.com and enter the name of your domain on the text bar.
Click the green button and you will be presented with 3 different ways to verify your ownership of your domain and server.
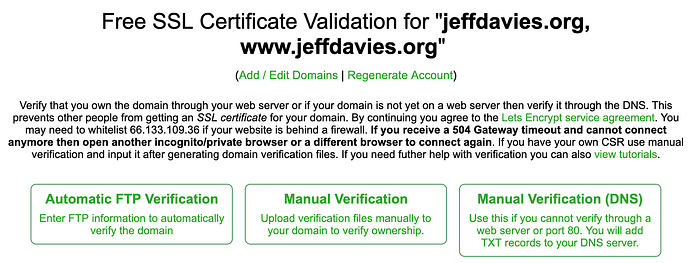
I could have chosen the Manual Verification(DNS) approach, but where is the fun in that? Creating a temporary web server for static files was much more instructive in using OCI!
Click on the Manual Verification button in the middle. Now things get a little involved, and my role here is not to document how to use SSLforFree.com, so just let me summarize the process you need to go through:
- Download the manual verification files
- Copy them into the directory structure named in the SSLforFree.com instruction pages
- Update the files on your 2 web server instances using the scp command as you did earlier.
- Press the Verify button in SSLforFree.com to verify your files.
- Download all of the SSL certificates from SSLforFree.com (the certificate, private key and CA bundle). This will download as sslforfree.zip in your browser.
- Unzip the sslforfree.zip file so you can see the 3 certificates it contains.
Configure Your Load Balancer to Use HTTPS
Configuring the load balancer to use HTTPS is pretty quick, though not necessarily intuitive if you are new to OCI. However, the process is easy and I’ll walk you through it now.
Add an Ingress Rule
Add an ingress rule that allows all IP addresses to connect to port 443, as shown below:

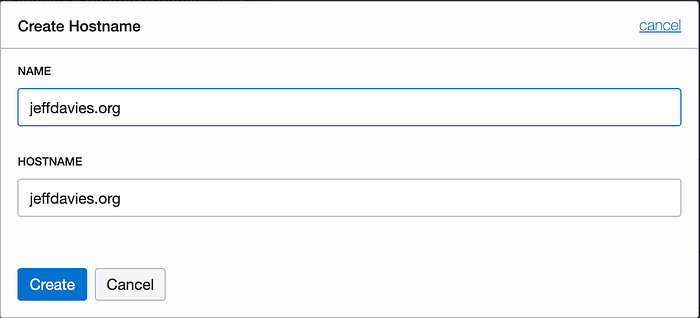
Add a Hostname
Now navigate to the dashboard page for your load balancer. Under the Resources heading on the left side, click on the Hostnames link. Create a Hostname entry for your domain. I set the Name and Hostname fields to match my domain name.
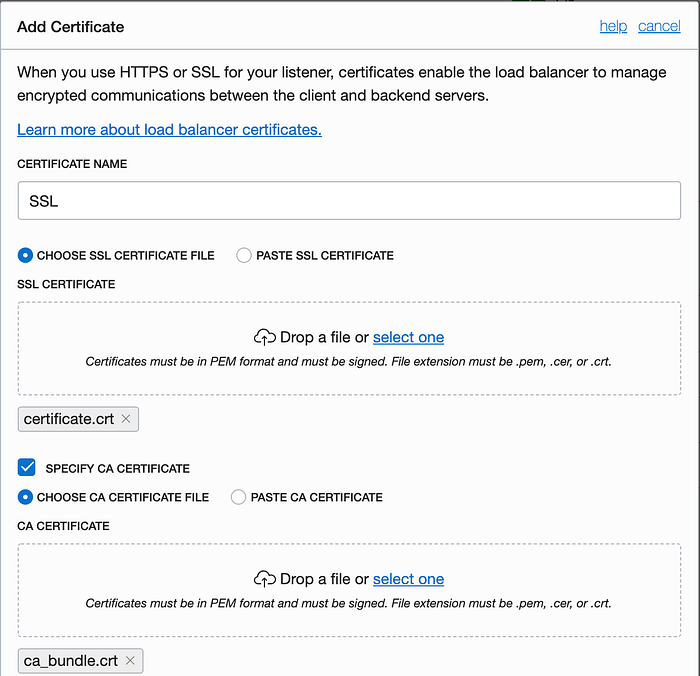
Add the Certificates
Also located under the Resources section of the page is a Certificates link. Create a new certificate. Inside of the ZIP files that you downloaded from SSLforFree.com are 3 certificate files. You will use them in this dialog. Name the certificate SSL and drag and drop the certificate.crt file in the first drag-and-drop box. The check the Specify CA Certificate checkbox and drag and drop the ca_bundle.crt file onto the second drag-and-drop box.
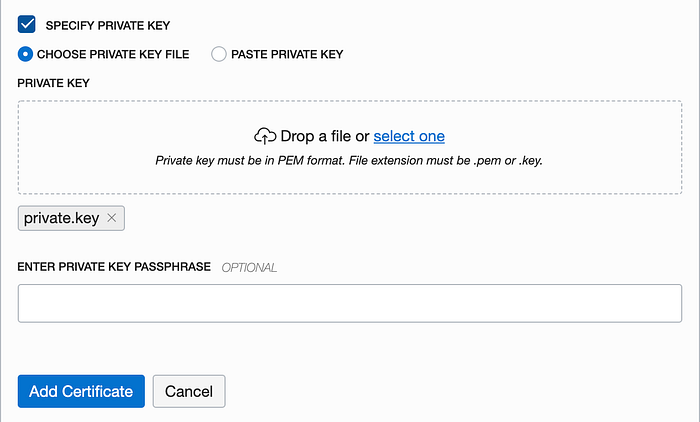
Lastly, check the Specify Private Key checkbox and drag and drop the private.key file onto the third drag-and-drop box. Complete the process by clicking the blue Add Certificate button at the bottom.
Now we are ready to add our HTTPS listener! Under the Resources section click on the Listeners link and create a new listener. Name the listener HTTPS and select the hostname that you created a moment ago. Check the Use SSL checkbox and the Port field should automatically change to 443. For the Backend Set select the set that is listening on port 3000, NOT the one listening on port 8080! Why? Because the web server we installed on port 8080 was only created to help us verify ownership of the domain with SSLforFree.com and we will soon delete it for security reasons.
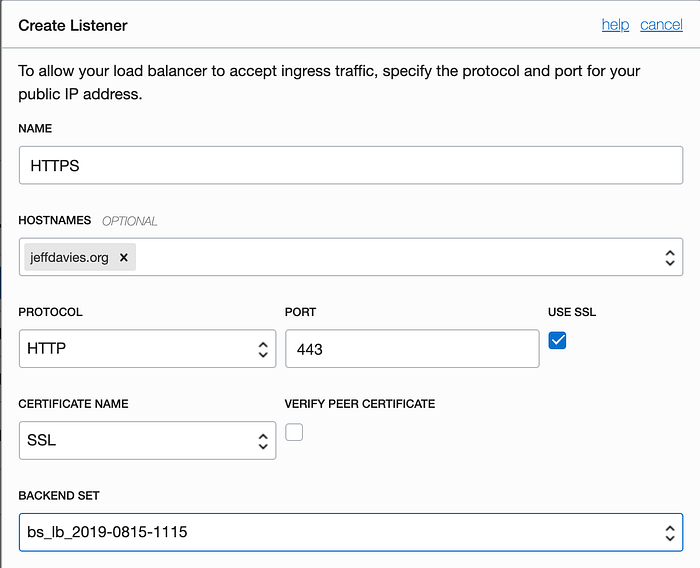
Click the blue Create button at the bottom to create the listener.
Testing HTTPS
Testing the server is pretty straightforward. Open a browser window to:
https://<yourdomain name>And you will see the Healthy message displayed. Note the little lock icon in the address bar, verifying that HTTPS is in use.

Security, Security, Security
At this point, we have HTTPS installed and working fine. However, we still have some clean up to do. Those servers running on port 8080 are a security hazard. We don’t need them to be running and they are a security risk because they will blindly serve up any files you ask them for. They may all be prefixed with the location of /home/opc/staticServer but I wouldn’t put it past a hacker to find a way around that using some file path trickery. It’s best if we just shut that whole server down and only run the web servers on port 3000.
Open an SSH connection to each of your computer instances and stop each of your web servers. There’s a number of ways to do this, but I suggest using the ps command to see the process IDs of the server running on 8080 in each instance and then using the kill command to stop that process. Here are some example commands that I used:
ps -aux | grep nodeThis returned the following response on one of my servers:

From this I can see that the process I need to kill has the ID of 15093 (the one running node index.js from the opc user). So I plug that into the command line:
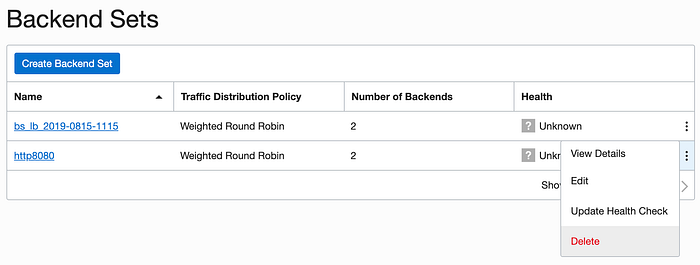
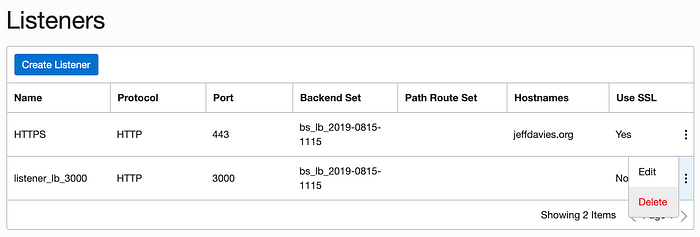
kill 15093That will end the web server on the instance. Now we need to get rid of the listener on port 80 which is routing information to those (now defunct) web servers. Navigate to your load balancer and delete the listener for port 80.
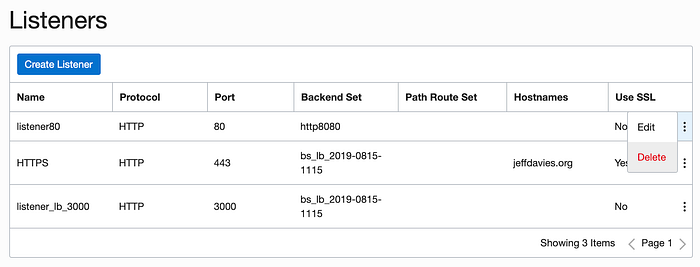
Similarly, delete the backend set for http8080.
Finally, there is no need to allow direct access to the web servers running on port 3000. So we can delete that listener also.
Remember that we also opened the port 8080 in the firewall of each of our computer instances. It is time to close that opening in our firewall. SSH to each instance and execute the following commands:
sudo firewall-cmd --permanent --remove-port=8080/tcpsudo firewall-cmd --reload
Also, in the Security List, delete the rule allowing access to port 8080. Still, in the Security List page for your VCN, edit the ingress rule for port 3000. Set the source CIDR address to the IP of your load balancer with a “/32” appended. This will lock port 3000 down so that only the load balancer can access it. We don’t need external, direct access to our individual web servers.

Now I feel a bit better about things, security-wise. Nothing like closing ports to help me sleep a bit better.
In Summary
Now that we have HTTPS working on our web server we can move onto bigger and better things, like authenticating users, next in this series. If you found this helpful, please be sure to send a clap my way! Thanks for reading.